
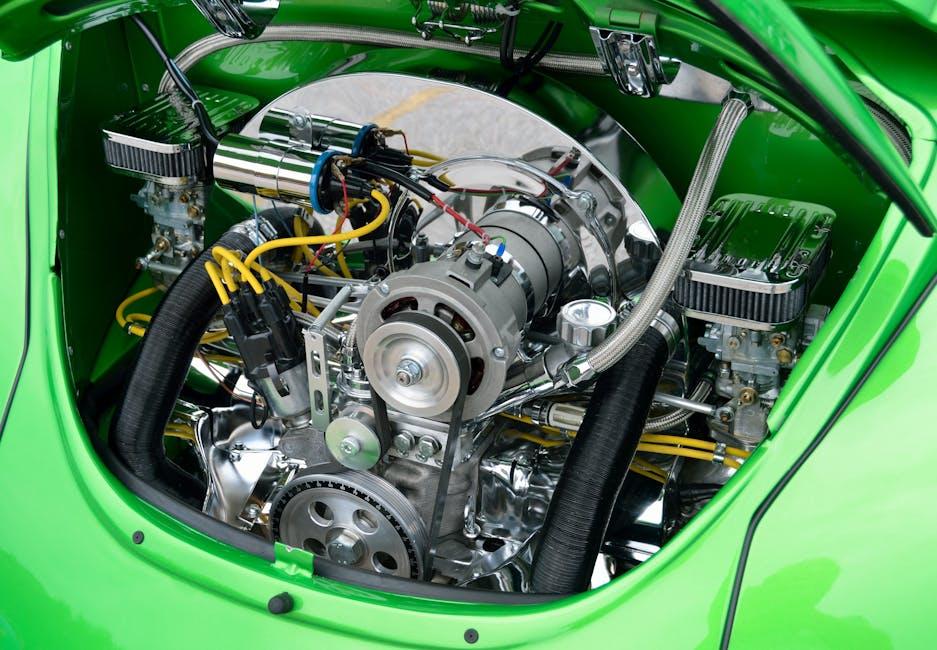
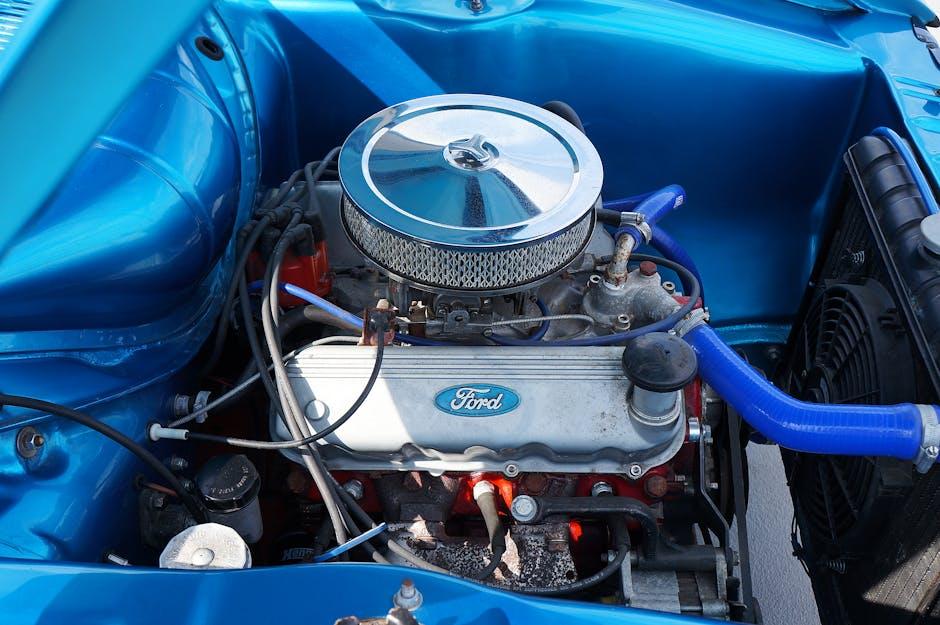
If your 2014 Honda Accord is starting to sound like a disgruntled refrigerator, it might be time to pay some attention to its radiator fan. This unassuming little workhorse is crucial for keeping your engine cool, and when it decides to take a vacation, it can lead to some serious overheating drama. But don’t sweat it! Tackling a radiator fan replacement isn’t reserved for professionals in grease-stained overalls. With a bit of know-how and a few tools you probably already have, you can turn this daunting task into a rewarding DIY project. So roll up those sleeves and let’s dive into your ultimate guide for replacing that radiator fan like a pro!
Rev Up Your Knowledge: Understanding the Role of Your Radiator Fan
Your radiator fan is like the unsung hero of your car’s cooling system. When the engine heats up, it kicks into gear, pulling air through the radiator to keep everything running smoothly. Without it, you could find yourself facing some serious overheating issues on the road. Think of it as the equivalent of a ceiling fan on a hot summer day—keeping things cool and comfortable, so your engine doesn’t turn into a sauna. The fan typically operates in tandem with your vehicle’s temperature control system, kicking in at just the right moment to prevent that nasty overheating scenario that can lead to costly repairs.
But why should you care about your radiator fan’s health? For starters, a malfunctioning fan can lead to higher engine temperatures, decreased performance, and ultimately, major headaches down the line. Here’s what you should watch for:
- Increased Engine Temperature: If your gauge is creeping into the red zone, it’s time to pay attention.
- Unusual Noises: A whining or grinding sound might signal that the fan motor is on its last legs.
- Poor AC Performance: If your air conditioning isn’t blowing as cold as it should, it could be linked to fan issues.
Regularly checking your fan can save you from major troubles down the road. And when it’s time to swap out that old fan, knowing its role makes the task feel less daunting. You’ll be tackling it with a clear understanding, like knowing the rules to a game before jumping in!

Gather Your Tools: The Essential Gear for a Smooth Replacement
Before you dive into the nitty-gritty of replacing your radiator fan, let’s chat about the tools you’ll need at your side. Having the right gear is like having a trusty sidekick—you wouldn’t want to face a villainous car problem without your best buddy, right? Start off gathering these essentials:
- Sockets and Ratchet Set: A variety of socket sizes will help you tackle those pesky bolts that are holding your fan in place.
- Flathead and Phillips Screwdrivers: You’ll need these for the various screws that keep components secure.
- Pliers: A good set of pliers can help you maneuver those stubborn clips and connectors.
- Wire Cutters: If things get tangled or if you’re replacing any wiring, these will be a lifesaver.
- Cooling System Flush Kit: Consider this if you’re going to flush the system while you’re at it—better safe than sorry!
And don’t forget about personal protection! Safety goggles and gloves are must-haves because, let’s be real, nobody wants to poke their eye out or get a nasty cut while elbow-deep in engine parts. You could also grab a work light to illuminate those shadowy spots under the hood where the magic happens. Trust me, you’ll thank yourself later when you can see every nut and bolt without squinting. Now that you’ve got your toolkit prepped and ready to go, you’re setting yourself up for a smoother, stress-free experience!

Step-by-Step Breakdown: How to Replace Your Radiator Fan Like a Pro
Ready to tackle the radiator fan replacement on your 2014 Honda Accord? Let’s get down to business! First up, make sure you gather all your tools and materials. You’ll need a new radiator fan, a socket set, and some basic hand tools. Here’s a quick checklist to keep you organized:
- New Radiator Fan
- Socket Set
- Screwdrivers (flathead and Phillips)
- Wrenches
- Safety Glasses
- Gloves
Once you have everything, pop the hood and disconnect the battery. Safety first, right? Next, locate the fan assembly and remove any screws holding it in place. It’s like peeling back the layers of an onion, so keep an eye out for any hidden bolts or clips. After you’ve freed the old fan, plug in the new one and reverse the disassembly process. Here’s a pro tip: take a few pictures as you go, so you’ll know exactly how to put it all back together!
| Part | Action |
|---|---|
| Battery | Disconnect |
| Fan Assembly | Remove screws |
| New Fan | Install and connect |
| Battery | Reconnect |
Navigating Common Pitfalls: Troubleshooting Tips to Keep You on Track
As you dive into your radiator fan replacement, it’s easy to get tripped up by a few common pitfalls. For starters, ensure you’ve accurately identified the wiring connections before yanking anything apart. Double-checking these can save you from a frustrating reassembly or worse, damaging the fan. Also, don’t forget to watch out for those pesky clips and brackets that can sometimes get overlooked. Think of them as the hold-up crew in a heist film—remove them, and everything falls apart. Keep a small container handy to collect any screws and clips you remove, so nothing goes missing in action! If you hear a strange rattle while driving after you’ve put everything back together, it’s time to conduct a quick check of your work.
Another frequent hiccup involves the coolant levels. After swapping out the fan, top off your coolant to ensure your engine doesn’t overheat while you’re revving up. You wouldn’t take a car on a long trip with an empty gas tank, right? So why would you skimp on coolant? It’s worth mentioning that if you’re not seeing any action from your new fan, don’t panic! Verify the fuse and relay that are often bundled up with the fan’s circuitry. Having a handy troubleshooting checklist can help weed out any small issues before they blossom into larger headaches. Here’s a quick rundown:
| Issue | Possible Fix |
|---|---|
| Fan not spinning | Check fuses and wiring connections |
| Overheating engine | Ensure coolant levels are adequate |
| Noisy fan | Inspect for loose brackets and clips |
Insights and Conclusions
And there you have it! Replacing the radiator fan in your 2014 Honda Accord can feel a bit daunting at first, but with the right tools and a little bit of elbow grease, you’ve shown that you’re more than capable. Just think of it like giving your car a little TLC; it’s not just about fixing a problem, but about empowering yourself to take care of your ride.
Now that you’ve successfully tackled this DIY project, imagine all the new skills you’re equipped with for future repair adventures. Need to swap out the air filter? Change a tire? With this win under your belt, you’re ready to dive into whatever comes next!
Before you hit the road, don’t forget to dispose of the old fan properly. It’s all about keeping our planet happy, right? So, rev that engine with pride, and remember: every little repair adds up to a well-loved car that runs smoother and longer. Keep that DIY spirit alive, and happy driving!