So, you’ve decided it’s time to dive into the world of YouTube and share your unique voice with the world – that’s awesome! Whether you’ve got a passion for cooking, gaming, beauty, or just about anything under the sun, creating your first video doesn’t have to feel like rocket science. Think of it as crafting a fun little recipe: a dash of creativity, a pinch of planning, and a whole lot of personal flair. In this guide, we’ll walk you through the step-by-step process of bringing your video idea to life, from the initial brainstorm to hitting that mystical “upload” button. So grab your gear, maybe a snack, and let’s embark on this exciting journey together. Who knows? You might just inspire someone out there to chase their dreams too!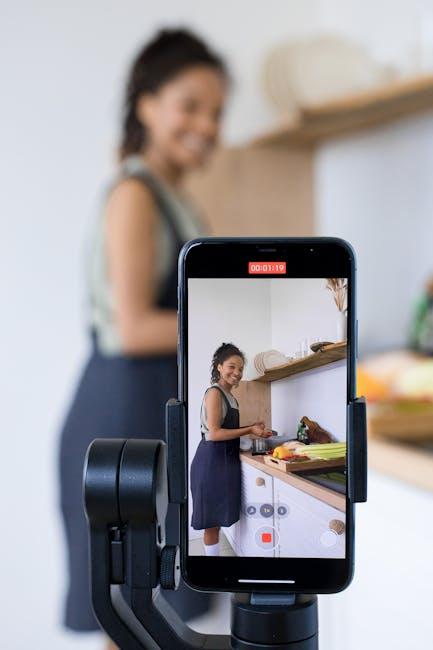
Understanding Your Audience and Finding Your Niche
To truly connect with your viewers, dive deep into their interests and preferences. Imagine your audience as a group of friends you want to impress; understanding their likes and dislikes can guide your content creation. Consider these elements:
- Demographics: Know their age, gender, and location.
- Interests: What hobbies or topics are they passionate about?
- Viewing Habits: What type of content do they often consume on YouTube?
Finding a niche is like discovering a hidden treasure in a vast ocean; it can set you apart from the crowded seas of creators. Hone in on what makes you unique and consider these tips:
- Passion: Talk about what excites you and what you can share abundantly.
- Expertise: Showcase skills and knowledge that you possess.
- Gap in Content: Identify what others aren’t doing yet and fill that gap.
| Aspect | Details |
|---|---|
| Unique Angle | Your perspective on popular topics. |
| Content Type | Tutorials, vlogs, reviews, etc. |
| Engagement Method | Q&A sessions, polls, feedback from comments. |

Planning Your Content: Scripts, Storyboards, and Schedule
Getting your ideas out of your head and onto the screen is the first exciting step in the journey of creating your YouTube video. Start with a script; it’s like your video’s blueprint. It doesn’t have to be perfect on the first go—jot down your main points and the flow of your dialogue. Think of it as sketching your dream house before you build it. You want to outline the key highlights so you can keep your audience engaged and entertained. Grab your favorite brainstorming tool, whether it’s a simple notebook or a digital app, and let your creativity flow. Remember, the more detailed your script, the smoother your filming day will go!
Next up is mapping out your visuals with a storyboard. This is where you visualize your script scene by scene. Don’t worry about being Picasso; simple sketches or even a list of shots can do the trick. It helps you align what you want to say with what you want to show. Consider how to pack your video with a punch so viewers don’t click away. To keep everything on track, draft a schedule. Block out time for scripting, filming, and editing. Think of it like planning a road trip—without a map, you might end up lost! Set deadlines to keep the momentum going, and you’ll find that staying organized makes the entire process far more rewarding.
| Task | Time Allocation | Notes |
|---|---|---|
| Script Writing | 2-3 hours | Focus on key messages |
| Storyboarding | 1-2 hours | Visualize every shot |
| Filming | 3-5 hours | Be prepared for retakes |
| Editing | 4-6 hours | Add music and effects |

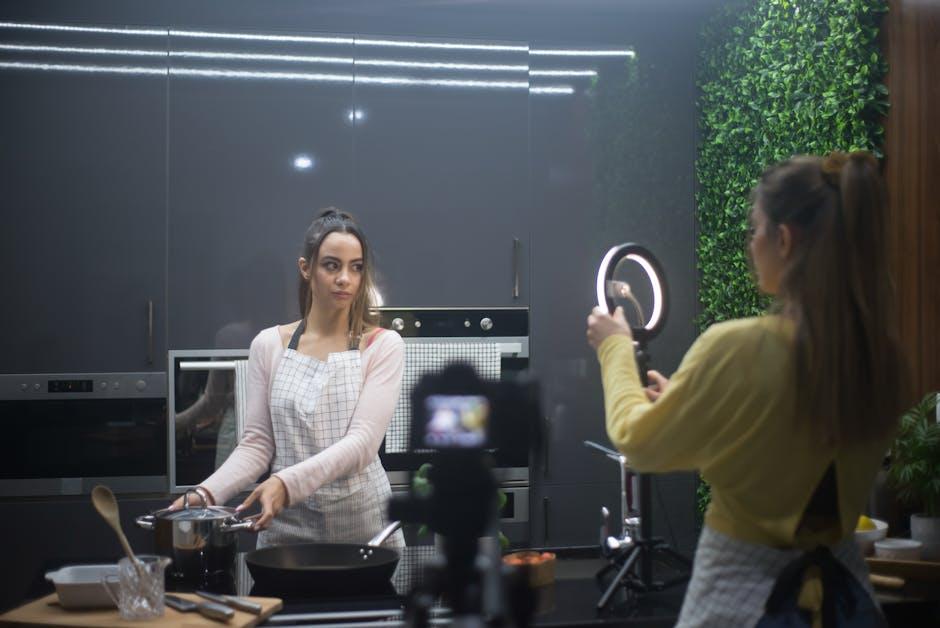
Essential Equipment and Software: What You Really Need
When diving into the world of YouTube, having the right tools can make a world of difference. You don’t need the fanciest gear to get started; it’s all about what works for your style. Here’s a quick rundown of the essentials:
- Camera: A smartphone camera can do the trick if you’re just starting out. However, if you want to step it up, consider a DSLR or mirrorless camera for better quality.
- Microphone: Clear audio is key. Look for a USB or lapel mic that fits your budget—trust me, viewers will appreciate it!
- Lighting: Natural light is your best friend, but a simple ring light can elevate your videos significantly.
- Editing Software: Whether it’s Adobe Premiere Pro or a free option like DaVinci Resolve, choose a program that feels comfortable to use.
- Tripod: A steady shot can make all the difference, so grab a tripod or even a handheld stabilizer if you plan to move around.
Now, let’s break this down with a quick look at some affordable software options:
| Software | Price | Best For |
|---|---|---|
| iMovie | Free | Basic Editing on Mac |
| Shotcut | Free | Simple Cross-Platform Editing |
| Filmora | $39.99/year | User-Friendly for Beginners |
| Adobe Premiere Pro | $20.99/month | Advanced Editing Features |
With these tools tucked under your belt, you’re ready to unleash your creativity! Each piece contributes to building your unique brand and delivering awesome content. It’s like assembling a recipe—get the right ingredients, and the magic happens!

Editing Magic: Tips and Tricks to Polished Production
Editing is where your video truly transforms from a rough draft into a polished gem. Think of it as giving your footage a good haircut – it might look messy at first, but with the right trims and a little styling, it can shine! Start by cutting out any unnecessary fluff. Every second counts, so keep your content snappy. Use tools like jump cuts to maintain energy and pace, and don’t hesitate to add transitions for a smoother flow between scenes. Explore various editing software options; they often come with features like color correction and filtering, giving your video that professional touch. It’s like adding a splash of paint to a canvas – suddenly, it pops!
Another magical aspect of editing is sound. Poor audio can turn viewers off faster than a bad plot twist. So, don’t overlook it! Invest in a good microphone and consider adding sound effects or background music to enhance mood. You can use websites like Bensound or Free Music Archive for royalty-free tunes. Also, pay attention to audio levels and ensure your voiceover is clear and well-balanced against other sounds. It’s like cooking – you want just the right mix of flavors, ensuring that nothing overpowers the other! Here’s a quick reference table for some essential post-production tips:
| Editing Tip | Description |
|---|---|
| Cutting Fluff | Remove unnecessary content for a tighter narrative. |
| Jump Cuts | Keep the energy up by cutting between scenes quickly. |
| Sound Quality | Use good audio equipment; balance music and voice. |
| Color Correction | Add vibrancy and consistency to your footage. |

To Conclude
And there you have it! You’re all set to embark on your YouTube journey, armed with tips and tricks to craft your very first video. Just remember, every big YouTube star started exactly where you are today—filled with excitement and maybe a sprinkle of nerves. Embrace the process! Think of it like baking a cake; the first few tries might not be perfect, but with each attempt, you’ll refine your recipe until you whip up something truly delicious.
Don’t forget to have fun along the way! Engage with your audience, learn from feedback, and let your creativity flow. After all, YouTube isn’t just about the number of views; it’s about sharing your passion, connecting with others, and learning as you go. So, grab that camera, hit record, and let your voice shine! Can’t wait to see what you create! Happy filming!