
So, you’ve got a brilliant idea brewing in that creative brain of yours, and you’re ready to share it with the world? Awesome! Crafting your first YouTube video is like baking your favorite cake. It might seem a bit intimidating at first—choose the ingredients, mix them just right, and voila! But once you get the hang of it, it’s a total blast. Whether you want to showcase your skills, tell your story, or simply share your thoughts, jumping into the world of YouTube opens up a limitless treasure trove of possibilities. Grab your camera, unleash that imagination, and let’s dive into a fun-filled guide on how to create a video that speaks volumes about you and connects with viewers everywhere! Ready to roll? Let’s get started!
Choosing Your Niche: Finding Your Creative Sweet Spot
Picking the right niche for your YouTube channel is like finding the perfect slice of pizza; it has to be just right for your taste buds! Think about what excites you, what you could talk about for hours without getting tired. When your passion shines through, it’s magnetic! To help narrow it down, consider your interests and talents. Are you a whiz at cooking, a gaming guru, or maybe a crafty mastermind? Make a quick list of your hobbies and skills, and you might find a few gems that spark your excitement.
Next up, researching your potential niche is key. Check out what’s already out there! Look for gaps in content that you could fill or unique angles on popular trends. Ask yourself these questions: What do viewers want to see? What makes your perspective fresh? Think of it like a treasure map; you want to discover that hidden area no one else has explored yet! Remember, it’s not just about competing, it’s about carving out a space that feels uniquely yours. Here’s a simple table to visualize some popular niches along with a few pros and cons:
| Niche | Pros | Cons |
|---|---|---|
| Cooking | High demand, share recipes | Saturation of content |
| Gaming | Large audience, fun! | Requires tech knowledge |
| DIY Crafts | Engaging, creative outlet | Can be costly for supplies |
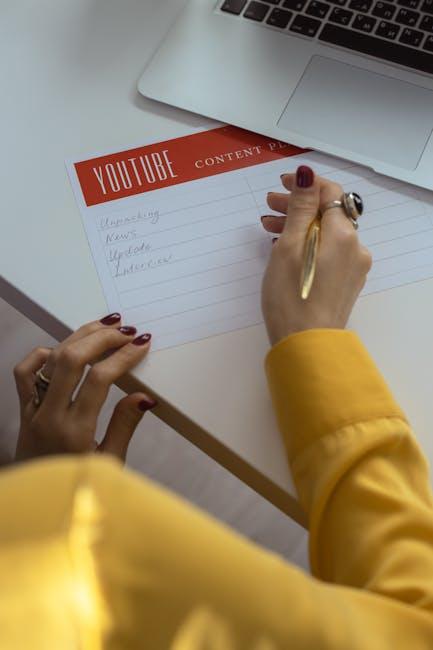
Planning Your Content: From Idea to Storyboard
Getting your ideas down on paper is like laying the foundation for your dream home—it needs to be solid! Start by jotting down all your thoughts, no matter how wild or seemingly unrelated they might be. Think of it as a brainstorming session where no idea is too crazy to consider. After that, narrow it down by asking yourself what resonates the most with your audience. What will they find entertaining or informative? This is the moment where you transition from a scatter of thoughts to a more focused vision. You can also explore popular trends or questions that viewers are asking, giving your content an extra sprinkle of relevance.
Once you’ve honed in on your concept, it’s time to get visual with a storyboard—this is where the magic starts to take shape! A storyboard doesn’t have to be high-tech; it can be a simple paper sketch or even a digital tool you enjoy using. Break your video into key segments or scenes: introduction, main content, and conclusion. Think of each segment as a chapter in a book, guiding your audience through the story you’re telling. To keep it organized and streamlined, consider using a table:
| Scene | Description | Duration |
|---|---|---|
| Intro | Quick overview to grab attention | 30 seconds |
| Main Content | Deep dive into the topic | 3-4 minutes |
| Conclusion | Wrap-up and call to action | 1 minute |
By carving out these segments, you create a roadmap for your video, ensuring that everything flows nicely and keeps your audience engaged. Remember, storytelling is an art—give yourself the freedom to be imaginative and don’t shy away from bringing your unique flair into the mix!
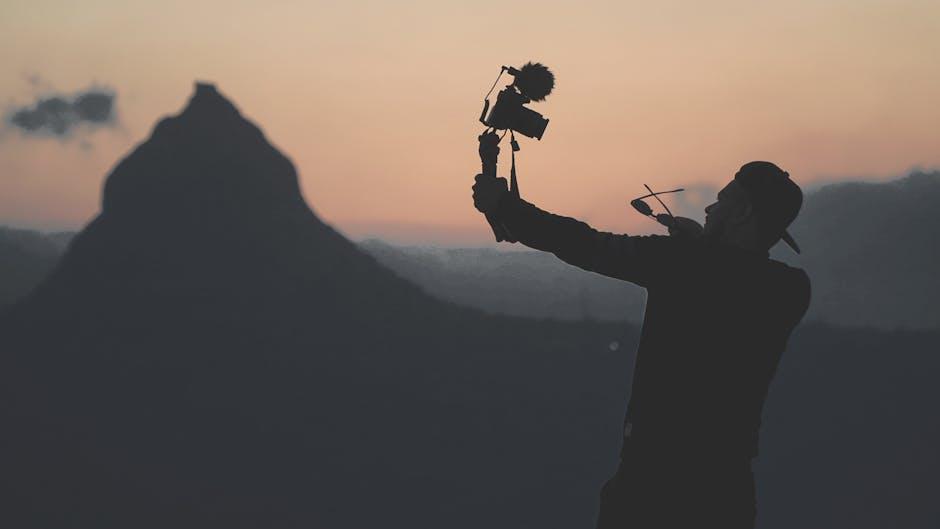
Setting Up Your Space: Crafting the Perfect Filming Environment
Creating an incredible filming environment is like setting the stage for a thrilling performance; it can make all the difference in the world! Start by picking a spot that resonates with you—this is your creative sanctuary. Lighting is vital; natural light is your best friend, so consider filming near a window during the day. If that’s not feasible, invest in some softbox lights to avoid harsh shadows. Background matters too! A cluttered space can distract viewers, so keep your backdrop clean or decorate it with elements that reflect your personality, like posters or plants. A cozy, inviting space not only enhances your videos but also makes you feel more comfortable on camera.
Sound quality should never be an afterthought. If your room echoes like a cavern, it’s time to make some simple tweaks. Add soft furnishings—like blankets or curtains—to dampen the sound. You don’t have to break the bank; even a couple of pillows can do wonders! For clearer audio, consider investing in a quality microphone; even a decent lavalier mic can elevate your sound game to another level. Here’s a quick rundown of essentials to ensure your setup is spot-on:
| Element | Recommendation |
|---|---|
| Lighting | Natural light or softbox lights |
| Background | Neat and personalized décor |
| Sound | Soft furnishings, quality microphone |

Editing Magic: Turning Raw Footage into Gold
Editing is where the real magic happens. That raw footage you painstakingly captured? It’s like a rough diamond waiting to be polished. You can turn those snippets of reality into a compelling story that keeps viewers coming back for more. Suddenly, the awkward pauses and shaky shots become art with a little finesse. Here are some tips to elevate your editing game:
- Choose your software wisely: Whether you’re a beginner or a pro, pick an editing tool that fits your style. Options like Adobe Premiere Pro, Final Cut Pro, or even iMovie can be fantastic depending on your needs.
- Focus on pacing: The rhythm of your video is just as important as the content. Keep your edits snappy to maintain the audience’s interest. A good rule of thumb? If it feels too long, it probably is!
- Utilize cuts and transitions: Smooth transitions between scenes can make your footage flow like a breeze. Experiment with jump cuts, fades, or even fun effects to spice things up.
But remember, don’t go overboard! The goal is to enhance, not overwhelm. Think of your edits as seasoning in a dish: just the right amount can elevate the flavor, but too much can ruin the whole meal. Keep an eye out for continuity and ensure the narrative stays clear. And hey, don’t forget those titles and graphics! They can provide context and emphasize key points. Check this quick table for an easy reference on both essential edits and their impact:
| Edit Type | Purpose |
|---|---|
| Cutting | Removes unnecessary parts to tighten the story. |
| Transitions | Smooths the flow between scenes. |
| Color Grading | Enhances mood and visual appeal. |
In Conclusion
And there you have it—your roadmap to creating your very first YouTube video! It’s like setting off on a thrilling adventure; a little scary at first, but once you dive in, you’ll find it’s all about having fun and being yourself. Remember, every big creator was once a beginner, just like you. So don’t be afraid to experiment, let your personality shine, and most importantly, keep the good vibes rolling!
As you hit that record button, think of it as opening the door to a new world of creativity and connection. Embrace the hiccups along the way—after all, even the pros have off days—because every edit, every cut, and every laugh will bring you closer to crafting something truly special. Now, go grab your camera, unleash your imagination, and let the world see what you’ve got! Can’t wait to watch your journey unfold! Cheers to your YouTube adventure! 🌟