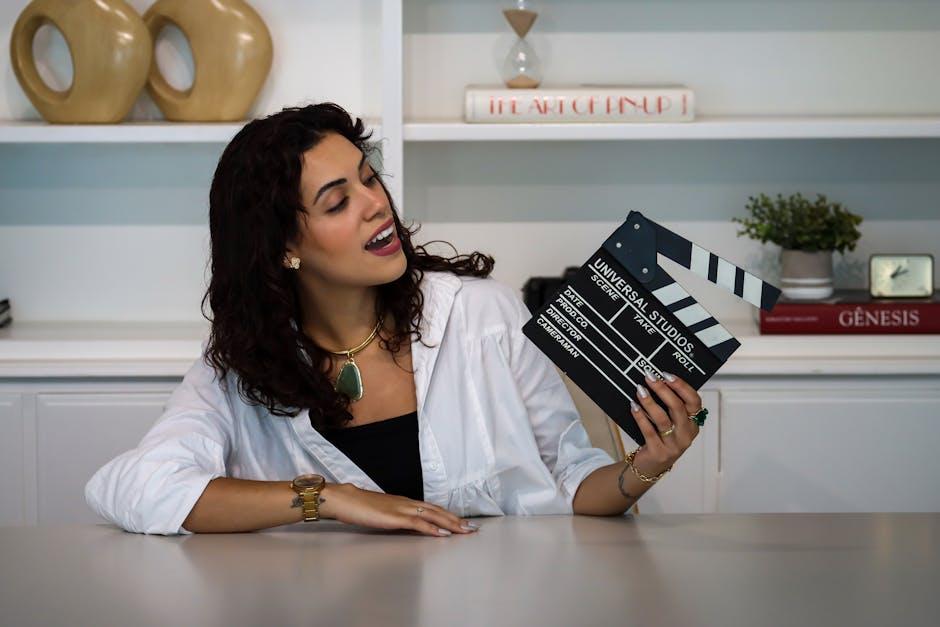
Imagine walking into a space that fuels your creativity, where every corner whispers inspiration, and every piece of equipment feels just right. That’s the magic of a personal YouTube studio, a haven tailored to your unique style and ambitions. Whether you’re aiming to vlog your adventures, dive into the world of gaming, or share your cooking secrets, crafting the perfect studio isn’t just about neat gear; it’s about creating a vibe that resonates with who you are. In this guide, we’ll break down the steps to turn that dream setup into a reality, giving you the tools and tips to create a space that’s as vibrant as your content. Ready to transform a corner of your room or even a whole basement into a creative playground? Let’s get started!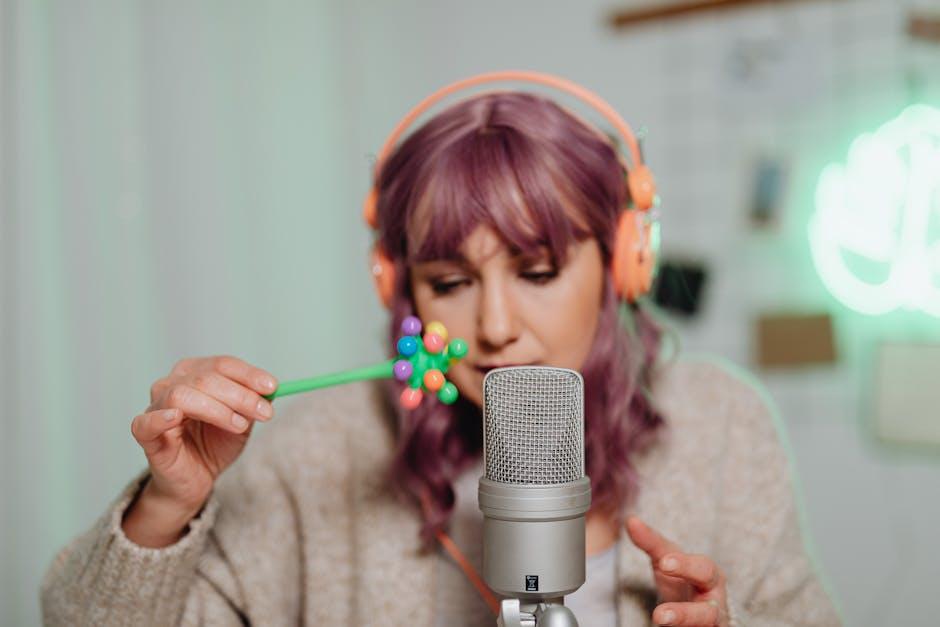
Creating the Perfect Space: Choosing the Right Location and Layout
Finding the perfect location for your YouTube studio is crucial. Think of it as crafting a cozy nook that reflects your vibe and suits your content needs. Location isn’t just about a pretty view; it’s about access to electricity, good lighting, and minimal noise disruption. Consider these factors when scouting for your space:
- Lighting: Natural light is your best friend! Aim for a spot with plenty of windows or invest in quality softbox lights.
- Quietness: Can you hear a pin drop? If not, keep looking. A peaceful environment is key for clear audio.
- Accessibility: Ensure your space is easy to get to and allows for smooth setup and teardown.
Once you’ve nailed down the location, it’s time to think about the layout. Your studio should be as functional as it is inspirational. Consider an open layout that allows for flexibility, so you can easily switch up your scenes. Imagine a blank canvas where you can create art each time you hit record! Here are some tips for the ideal studio setup:
- Zoning: Create distinct areas for filming, editing, and lounging to keep your creative juices flowing.
- Backdrops: Incorporate fun backgrounds that scream “you” without stealing the spotlight!
- Furnishings: Choose comfortable furniture that invites creativity but isn’t too clunky.
| Layout Elements | Benefits |
|---|---|
| Flexible Zones | Encourages creativity and versatility in content creation. |
| Soundproofing | Enhances audio quality, making your videos more professional. |
| Dynamic Backdrops | Keeps your visuals fresh and engaging for viewers. |
Lighting Magic: How to Illuminate Your Studio Like a Pro
When it comes to lighting your studio, think of it as painting with light. You want to create a mood, enhance your subject, and make everything pop without creating shadows that make you look more like a horror movie extra than a YouTube star. Here are some key elements to consider:
- Soft Light Sources: Use diffused lights to wrap your subject in flattering illumination. Softboxes or ring lights work wonders for this.
- Key and Fill Lights: Position a key light at a 45-degree angle to your face, with a fill light on the opposite side to reduce harsh shadows.
- Backlighting: Add depth by placing a light behind you. This creates a halo effect and separates you from the background.
- Color Temperature: Stick to a consistent color temperature throughout your lights, typically around 5600K for a natural daylight effect.
Now, let’s break down how to adjust your setup for different videos. A simple table below outlines the lighting setup based on type:
| Video Type | Lighting Technique | Light Suggestions |
|---|---|---|
| Vlogs | Natural Light | Window + Soft Reflector |
| Interviews | Key & Fill | Two Softboxes |
| Tutorials | Three-Point Lighting | Key Light + Fill Light + Backlight |
| Unboxing | High-Contrast Lighting | LED Panels + Spotlights |
By understanding and experimenting with these techniques, you can transform your lighting setup from drab to fab—making sure your viewers stay engaged and focused on the content, and not the shadows on your face.
Sound Matters: Essential Tips for Achieving Crystal-Clear Audio
When it comes to sound quality, think of your audio setup as the backbone of your YouTube studio. You want to create an immersive experience for your viewers, right? Investing in a quality microphone can make all the difference. Whether you go for a shotgun mic for that crisp focused sound or a lavalier for hands-free convenience, make sure your choice complements your recording style. Don’t forget about a pop filter! It’s like a cozy blanket for your mic, helping reduce those pesky plosive sounds that can pop up and ruin a perfect take. Also, consider acoustic treatment for your space. Simple foam panels can absorb echoes and give your audio that professional touch—kind of like putting a nice frame around a beautiful picture.
Now, let’s talk about your recording environment. Silence is golden, and creating a quiet zone is essential. Make sure to locate your studio away from noisy appliances or the chaos of family life. If you can’t escape the sounds of the outside world, recording during quieter times or using soundproofing curtains can work wonders. Experimenting with different audio settings on your recording device is key; sometimes, lowering the gain can actually improve your sound quality, making your voice resonate better. Lastly, remember to check your audio levels throughout the shoot—it’s like keeping an eye on the temperature when you bake. A little tweaking here and there will help you achieve that crystal-clear audio you’d want in your YouTube videos!
Decor and Personal Touches: Making Your Studio Truly Yours
When it comes to setting up your studio, think of it as painting on a blank canvas. Personal touches can transform a generic space into a lively, vibrant backdrop that tells your audience who you are. Incorporate your personality with fun decor that resonates with your brand. Maybe it’s a neon sign with your channel’s name or a gallery wall featuring your favorite artworks or inspirational quotes that pump you up. To make your studio truly unique, consider adding elements that spark conversation, like quirky figurines, or even plants that breathe life into your videos. Don’t forget about lighting! A personal lamp or creative string lights can create soft, flattering vibes perfect for those close-up shots.
Another fun way to express yourself is by using flexible DIY solutions. You could swap out backgrounds each month to match different themes or holidays; think of it as your studio’s seasonal wardrobe! Create a cozy corner for your live streams with layered textiles and cushions to enhance comfort and warmth. Not only does this set a killer scene, but it also makes you feel right at home while you’re on camera. Here’s a quick look at some ideas for personalizing your space:
| Element | Personal Touch Ideas |
| Wall Art | Collage of personal photos or fan art |
| Colors | Painted accent wall that matches your brand colors |
| Lighting | Custom LED lights in your favorite colors |
| Furniture | Vintage desk or a comfy chair with your personality |
The Way Forward
And there you have it! You’re now equipped with the essential steps to transform that corner of your room or garage into an epic YouTube studio that reflects your unique style and creativity. Remember, this journey is all about expressing yourself—so don’t hesitate to put your spin on it. Whether it’s a funky backdrop, the perfect lighting setup, or that one quirky gadget no one else has, let your personality shine through.
As you dive into crafting content, embrace the process, and don’t stress about perfection. Every great creator started with a simple setup, and it’s the passion and authenticity that bring viewers back for more. So, gather your gear, hit record, and let the world see what you’ve got! Keep creating, keep experimenting, and most importantly, have fun! Your dream YouTube studio is just the beginning. Can’t wait to see what you bring to life!