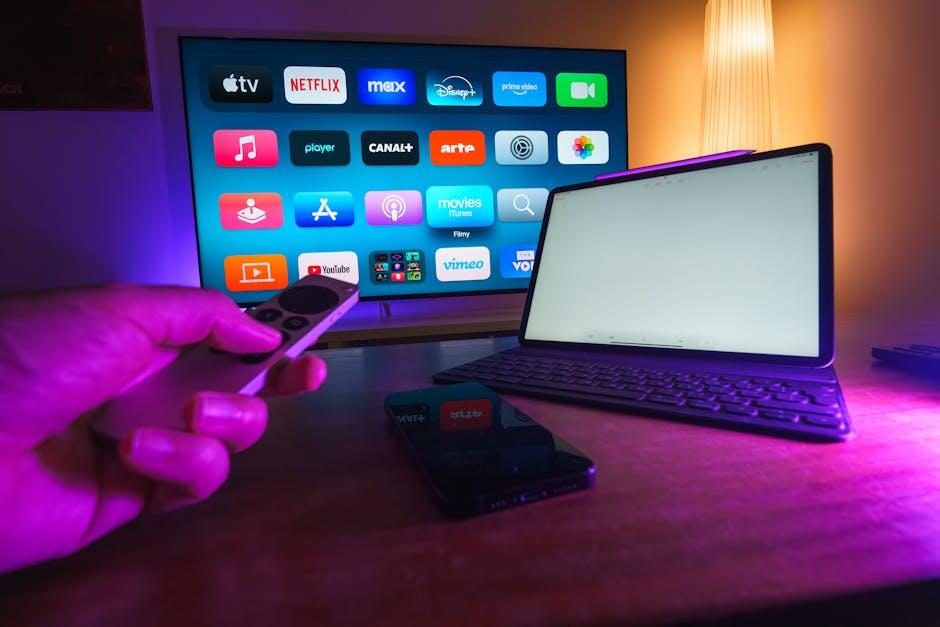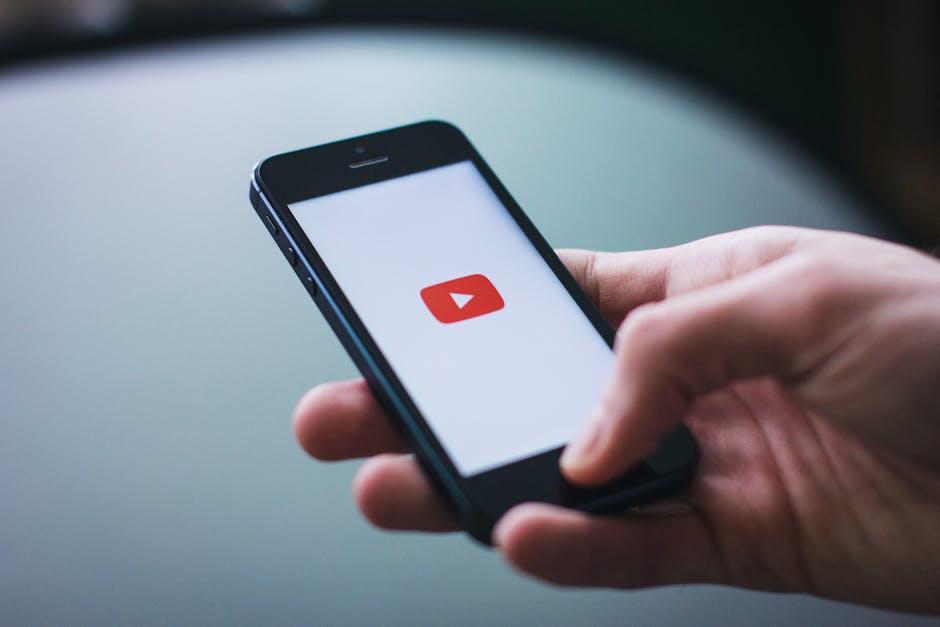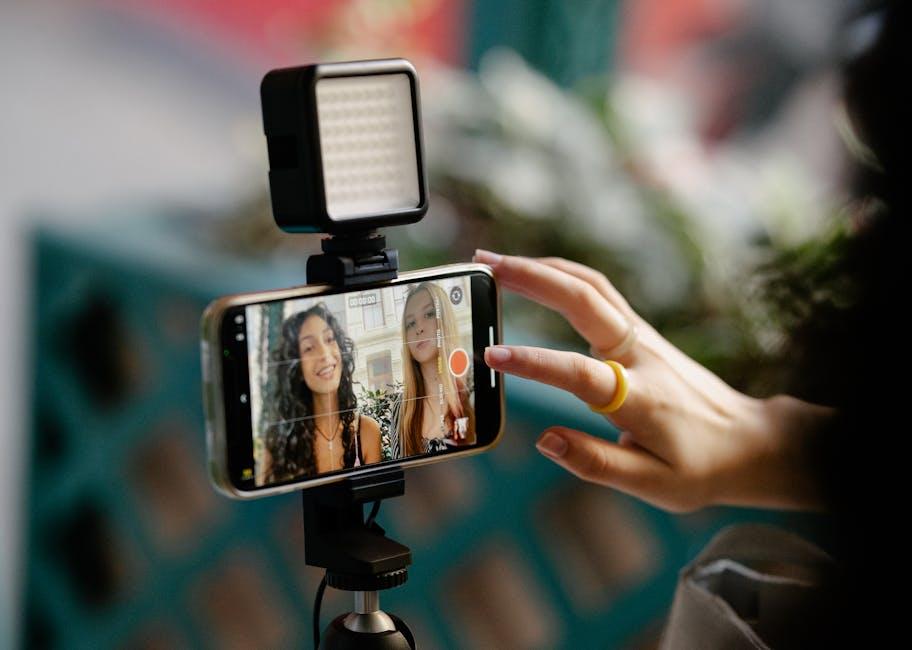
Have you ever found yourself knee-deep in the world of YouTube, searching for that perfect video to back up your research or spark your creativity? Or maybe you’ve stumbled upon a fantastic tutorial that’s just begging to be cited? Well, you’re not alone! In today’s digital age, YouTube is as much a part of our learning toolbox as textbooks and journals. But when it comes time to give credit where credit is due, citing those videos can feel like navigating a maze blindfolded. Not to worry! In this friendly guide, we’re going to break down the intricacies of citing YouTube videos in MLA format. Whether you’re a seasoned pro or a first-time citer (is that a word? Let’s make it one!), we’ll walk you through the essentials with a smile. Grab your notebooks, and let’s dive into this fun and informative adventure!
Understanding the Basics of MLA Formatting for YouTube Clips
Alright, let’s dive into the wonderful world of MLA formatting when it comes to citing those fantastic YouTube clips! First things first, you need to gather the essential information to create a proper citation. This includes the creator’s name, the video title (in italics), the platform, the publisher, the date of publication, and the URL. Think of this format like getting all your ducks in a row before you head out on an adventure. If any piece is missing, it’s like showing up to a party without your favorite snack—just doesn’t work! Here’s a quick breakdown of how the citation should look:
| Element | Format |
|---|---|
| Creator’s Name | Last Name, First Name. |
| Video Title | Title of Video. |
| Platform | YouTube, |
| Publisher | Name of the channel, |
| Date Published | Day Month Year, |
| URL | www.youtube.com/videolink |
Next, once you have all this info, you can structure your citation like a pro! Imagine you’re setting up neatly arranged picnic blankets at a summer get-together—everything has its place, and it just feels right. A proper MLA citation for a YouTube clip would look something like this: Last Name, First Name. Title of Video. YouTube, Name of the channel, Day Month Year, www.youtube.com/videolink. Easy-peasy, right? Plus, when you follow this structure, it not only shows you mean business but also helps your readers find the source easily. So, grab your popcorn, and let’s make those citations shine!
Navigating the Nuances: Distinguishing Between Video Types
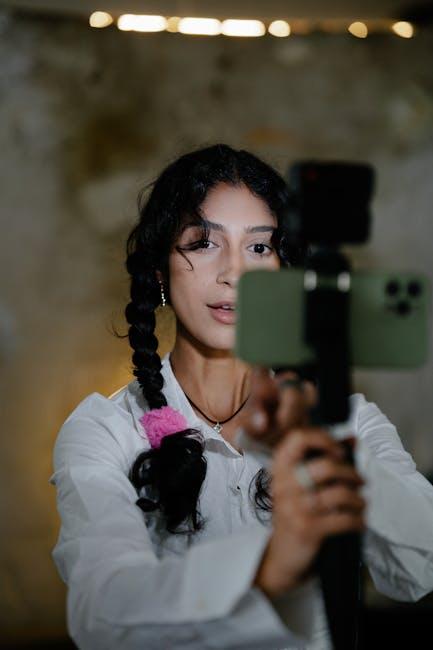
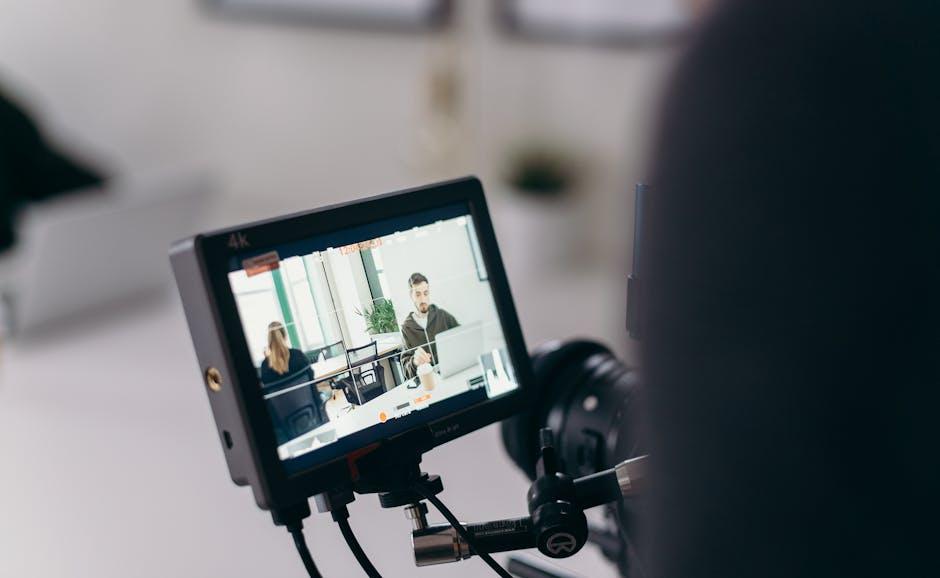
When diving into the world of YouTube videos, it’s essential to understand the differences between types of content. Think of it like navigating a bustling city; each video genre has its own unique vibe, purpose, and audience. For instance, tutorials are practical treasures, often crafted to guide you through a specific task, while vlogs provide an intimate peek into someone’s life, connecting with viewers on a personal level. Then we’ve got documentaries, which are like rich narratives that explore in-depth stories or themes, offering viewers a blend of entertainment and education. Recognizing these distinctions can empower you to choose the right video type for your citation needs.
Next up, let’s not forget about live streams—a real-time experience where creators engage with their audience. These are spontaneous and can be dramatically different from pre-recorded content. And, oh, the short-form videos! You know, those quick snippets that pack a punch in under a minute? They’re all the rage now, making it critical to identify the format when citing. To make your life easier, here’s a quick table to compare these video types, highlighting their defining characteristics:
| Video Type | Purpose | Engagement Style |
|---|---|---|
| Tutorials | Teaching skills or concepts | Informative and interactive |
| Vlogs | Sharing personal experiences | Conversational and relatable |
| Documentaries | Exploring significant narratives | Engaging and thought-provoking |
| Live Streams | Real-time interaction | Dynamic and immediate |
| Short-Form Videos | Quick entertainment or info | Fast-paced and snappy |
Crafting the Perfect Citation: Structure and Examples You Need
When you’re diving into the world of citing YouTube videos using MLA format, it’s essential to get the structure just right. So, what’s the magic formula? Start with the creator’s name (last name, first name), followed by the title of the video in quotation marks. Then, list the website name (YouTube) in italics, the uploaded date, and the URL. Here’s a quick cheat sheet to simplify that:
- Creator’s Last Name, First Name. “Title of Video.” YouTube, Uploader, Date of Upload, URL.
Let’s turn theory into practice. Imagine you’re citing a cooking video by a popular chef. It might look something like this:
| Example Citation |
| Smith, John. “How to Make the Perfect Pizza.” YouTube, 1 Jan. 2023, www.youtube.com/examplepizza. |
This formula keeps it clean and straightforward. Remember, when you’re listing those details, clarity is key—think of it like giving someone directions: you want them to get where they’re going without confusion!
Common Pitfalls to Avoid When Citing YouTube in MLA
When it comes to citing YouTube videos in MLA, there are a few common pitfalls that can trip you up if you’re not careful. First off, one of the biggest mistakes is forgetting to include the full name of the uploader. You might think the video’s title is enough, but without the uploader, your citation will look incomplete and could leave your readers scratching their heads. It’s like trying to enjoy a song without knowing who the artist is! Another frequent misstep is neglecting to provide the date you accessed the video. Digital content can change or disappear overnight, so acknowledging when you last viewed it adds that extra layer of credibility. Remember, clarity is key!
Additionally, make sure you’re formatting your citations consistently. Many folks tend to get a little lazy with punctuation or italics—don’t let that be you! For example, the title of the video should be in italics, while the title of the website (YouTube) should be in plain text. Also, keep an eye out for the source type. Are you citing a standard video, or perhaps a livestream? Each serves its own purpose, and identifying this accurately can really sharpen your academic edge. To sum it up, a little attention to detail goes a long way in ensuring your citations not only look great but also uphold the robust standards of research!

Concluding Remarks
And there you have it, folks! You’re now equipped with all the tools you need to seamlessly cite YouTube videos in MLA format like a pro. It might seem a bit daunting at first—like trying to assemble IKEA furniture without the instructions—but remember, it just takes a little practice! So next time you’re buried under a pile of sources for that research paper or project, don’t sweat it. Just keep this guide handy, and you’ll transform video citations from a headache into a breeze.
Keep in mind that proper citation is like giving credit where credit’s due; it shows respect for creators’ hard work and adds credibility to your own writing. Plus, who knows? You might just impress your professor or peers with your newfound citation skills! So go ahead, dive into those YouTube videos, gather your ideas, and craft your masterpiece with confidence. Happy citing, and may your grades soar as high as the views on those viral videos!