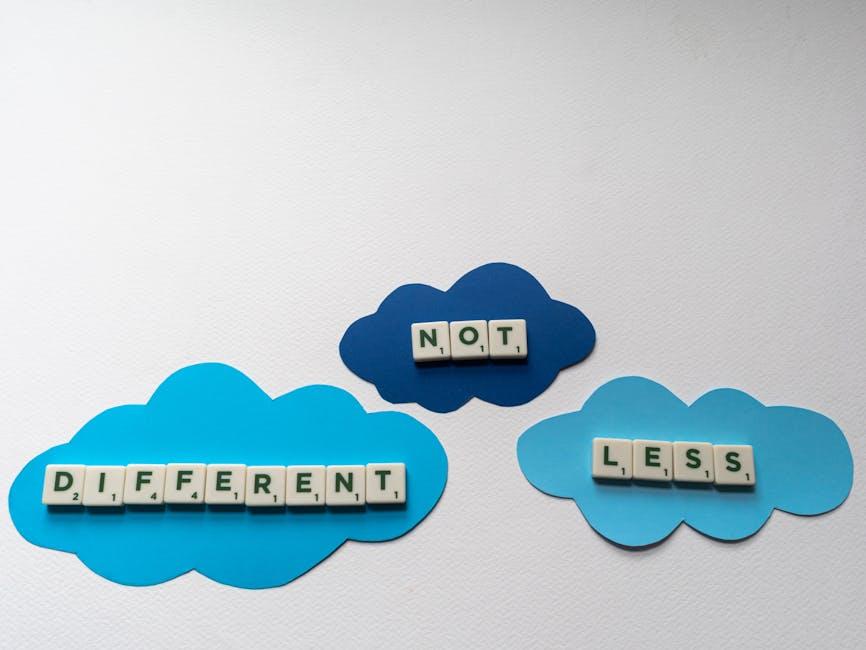
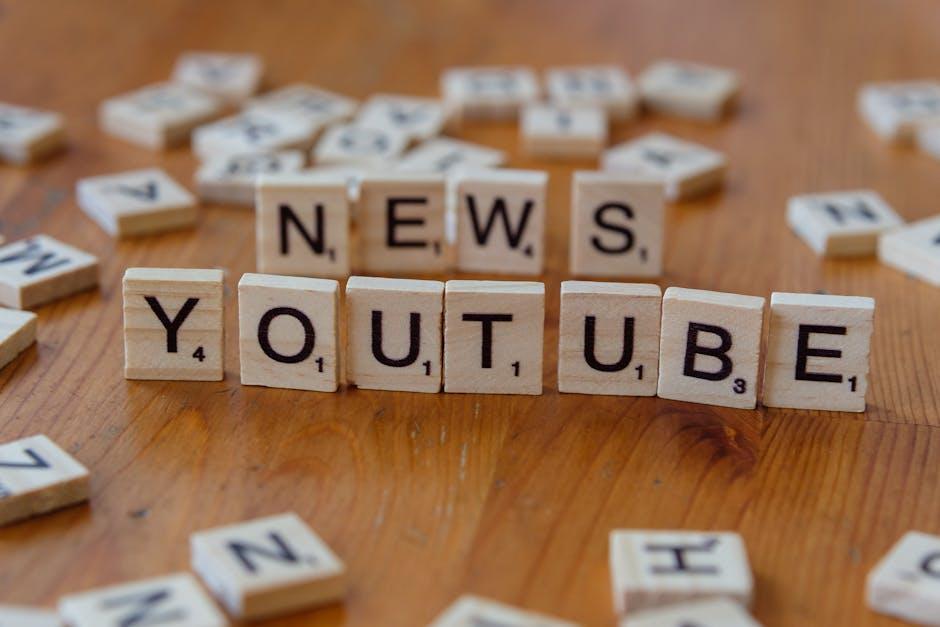
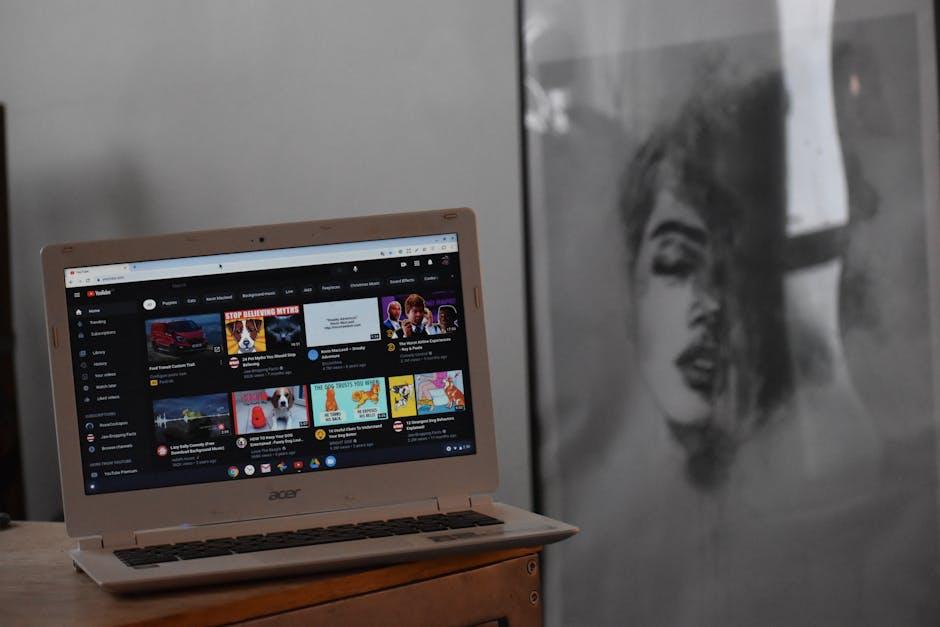
Ever thought about diving into the vibrant world of YouTube, but this time, as a second version of yourself? Picture this: a second channel brimming with fresh ideas, a place where your wildest creative whims can run free. Whether you’re looking to explore new hobbies, share different aspects of your personality, or just play around with cool content, starting a second YouTube channel is like opening a door to a whole new universe of possibilities. You might be asking yourself, “Where do I even begin?” Relax! I’ve got your back. Together, we’ll unlock your creative potential, and by the end of this journey, you’ll be armed with the tools and confidence to embark on this exciting venture. So, grab your camera, and let’s turn those innovative thoughts into viral-worthy videos!
Exploring Your Passion: Finding the Niche That Sparks Joy
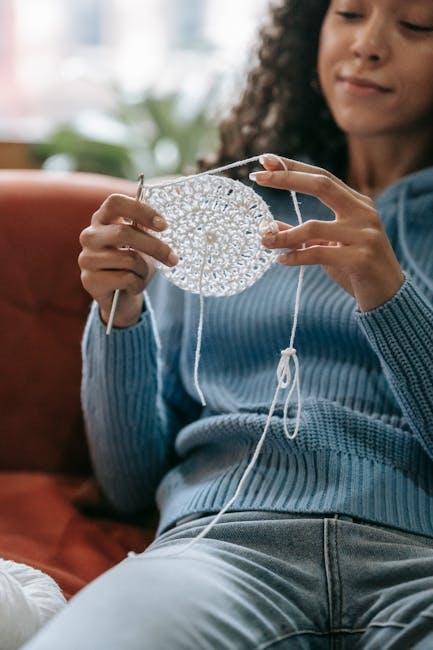
Finding what really ignites your creativity can feel like searching for a needle in a haystack. But think of it this way: diving into your passions is like embarking on a treasure hunt! Explore different facets of your interests and let them lead you towards that elusive niche. Ask yourself some questions. What topics make your heart race? Which hobbies could keep you up at night, brimming with excitement? To help narrow it down, you might consider:
- Personal Experiences: What stories from your life shape your identity?
- Skills and Talents: What are you naturally good at or love to improve upon?
- Communities: Are there groups or forums where you feel like you truly belong?
Once you’ve brainstormed, it’s time to test the waters. Why not create a few sample videos centered around your top passions? Think of this phase like planting seeds. Some might blossom into something beautiful, while others may wither in the sun. Track your engagement, listen to feedback, and see which topics resonate the most with your audience. Consider the following table to summarize your initial findings:
| Passion Area | Engagement Level | Comments |
|---|---|---|
| Travel Vlogs | High | Viewers love the adventures! |
| Cooking Tutorials | Moderate | Needs more seasoning! |
| DIY Crafts | Low | Struggling to find the right audience. |

Crafting a Brand: Tips for Building Your Unique Channel Identity
Building a channel identity is like painting a masterpiece; every brushstroke counts. Start by defining your niche and honing in on what makes you unique. Think about your interests and passions—what would get you excited to hit that record button? Create a list of attributes that describe your channel, like your personality, themes, and the types of content you’ll produce. This list serves as a compass, helping you stay true to your identity while experimenting with new ideas. Don’t forget to choose a compelling channel name that resonates with your audience and reflects your video’s vibe. After all, you want folks to remember you!
Consistency is your best friend in channel branding. Make sure your visuals, such as thumbnails and channel art, align with the identity you’ve crafted. Consider a simple color palette and typography that feels like “you.” If your channel has a fun, quirky feel, let that shine through in every visual element. Use a table to break down some essential branding elements:
| Element | Description |
|---|---|
| Channel Name | Catchy and memorable; reflects your niche |
| Logo | Small yet impactful; represents your brand |
| Thumbnails | Visually appealing; hints at your content |
| Intro/Outro | Short clips that create familiarity |
By paying attention to these details, you’ll create a unified channel experience that resonates with viewers and keeps them coming back for more! So get out there and let your creativity flow.

Content Planning Made Easy: Strategies to Keep IdeasFlowing
Brainstorming can feel like fishing in a dry pond—frustrating and fruitless if you’re not using the right bait. Instead of waiting for inspiration to strike, why not actively cultivate it? Set aside time each week for idea generation; treat it like an appointment you can’t miss. During these sessions, grab a notebook or use a digital tool and jot down whatever pops into your head. Don’t edit yourself! This isn’t about perfection; it’s about letting the ideas flow. You might be surprised at how many gems emerge from the chaos. Consider using mind mapping or bullet journaling techniques to visually organize your thoughts. The more you engage with your creativity, the more ideas will come knocking on your door!
Another effective strategy is tapping into trends while staying true to your channel’s voice. Monitor social platforms and popular content to see what resonates with audiences. This isn’t about copying but rather understanding the pulse of your niche. Once you’ve spotted a trend, think about how you can give it your unique twist or relate it to your interests. You could create a simple content calendar to keep track of upcoming themes and ideas, or even set milestones for when to produce specific segments. Use tools like Trello or Asana to help visualize and manage your projects. This way, you’ll unleash a constant flow of fresh content that keeps your audience engaged and eagerly waiting for more.

Engaging with Your Audience: Fostering a Community Around Your Channel
Building a community around your channel is like planting a garden; it takes time, patience, and a little bit of love to see it flourish. One of the best ways to engage your audience is by actively seeking their input and encouraging two-way conversations. Throw out some polls on your community tab or spark discussions in the comments. Ask your viewers what they want to see next or their thoughts on your latest video. It’s a golden opportunity to make them feel valued—like their opinions actually matter, because they do! You’d be surprised how much a simple question can lead to a flood of creativity. Plus, that engagement can create a sense of belonging, making your audience more likely to stick around and share your content with others.
Consider hosting live Q&A sessions or virtual hangouts to foster deeper connections. These events bring a sense of immediacy and fun! Imagine chatting with your fans in real-time, answering their burning questions, and sharing stories. Use these moments to highlight the personalities within your audience. You could even spotlight their comments or feature subscriber creations. It’s all about celebrating the community you’re building and making everyone feel like they belong. Here’s a quick checklist to keep things on track:
- Ask for feedback - Create polls and surveys.
- Interact regularly – Respond to comments and messages.
- Host live events – Q&As, livestreams, or gaming nights.
- Feature your audience – Share their stories or creations.
In Summary
So, here we are, at the final stretch of your journey into the world of YouTube creativity! It’s like standing at the edge of a vast ocean, ready to dive into new waters. Starting a second channel isn’t just about sharing content; it’s about exploring new facets of yourself, experimenting with ideas, and nurturing that creative spark that makes you unique.
As you gear up to hit that “Create” button, remember: this is your playground. Don’t be afraid to mix things up, try new formats, or even break a few rules. Every video is a chance to learn something new, connect with your audience, and maybe even discover aspects of yourself you didn’t know existed.
So go ahead, unleash that creativity! Embrace the messy, the unexpected, and the joyful chaos that comes with being a content creator. Who knows? Your second channel might just be the key to unlocking a whole new chapter in your YouTube journey. Happy creating, and remember to have fun—after all, it’s your story to tell!