Alright, folks! So you’ve decided to take the plunge and give your vehicle a little TLC, huh? You’ve got your hands on a Dorman 924-091 panel, and you’re ready to tackle the installation like a pro. But wait—before you grab those tools and dive in, let’s chat about what you’re getting yourself into. Installing this panel can feel daunting, especially if you’re a DIY newbie, but don’t worry! Think of it as piecing together a giant, rewarding puzzle.
In this guide, we’re going to take you step-by-step through the entire process, breaking it down into bite-sized pieces that make it easy peasy. Whether you’re a seasoned mechanic or just someone who loves getting their hands a little greasy, we’re here to make sure you feel confident every inch of the way. So, roll up your sleeves, put on those trusty work gloves, and let’s transform your ride into something you can truly feel proud of! Ready? Let’s roll!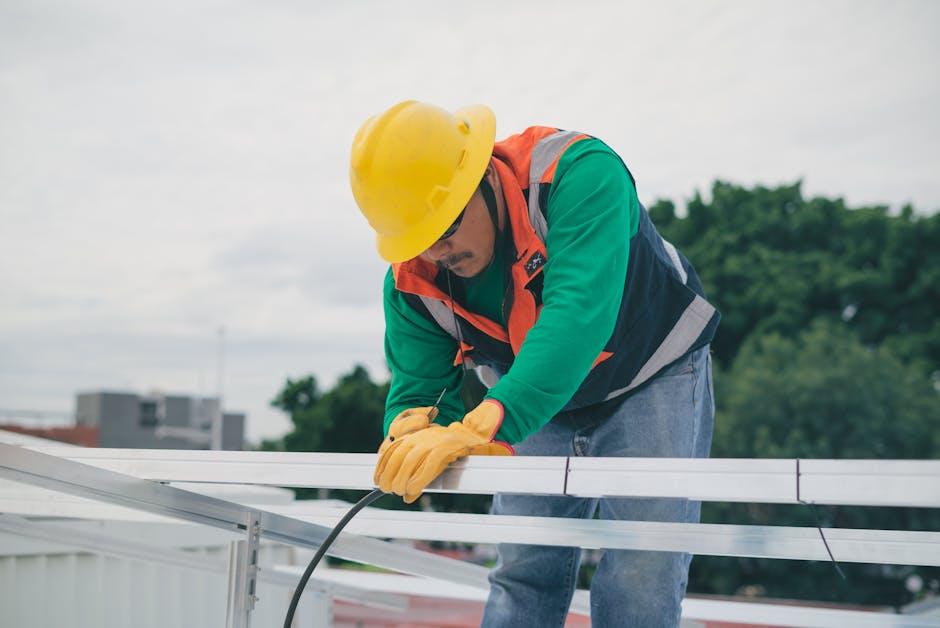
Choosing the Right Tools for a Smooth Installation Experience
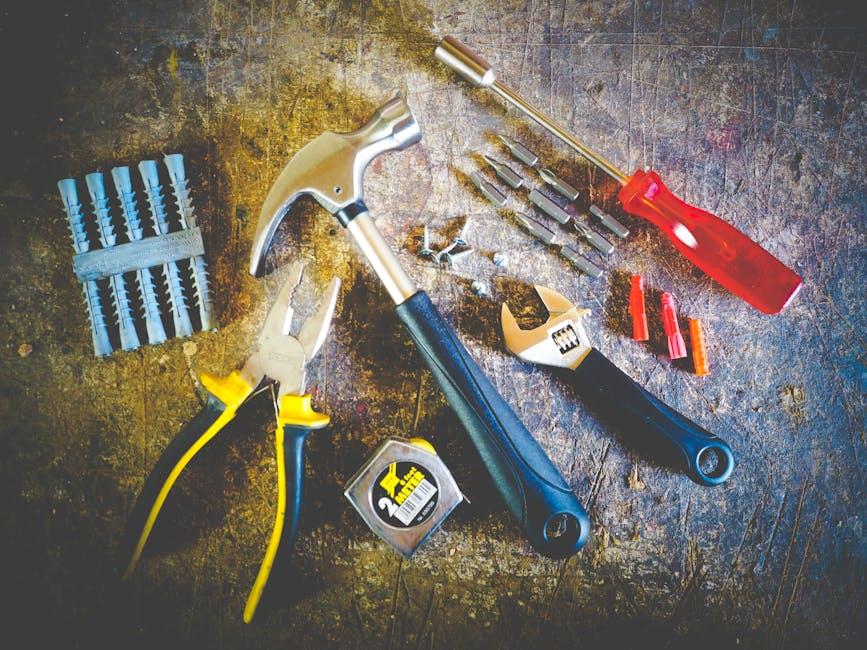
When it comes to installing the Dorman 924-091 Panel, having the right tools is almost like having a secret ingredient in your favorite recipe—it can make all the difference! Start by gathering the essentials to ensure your installation process goes off without a hitch. Consider investing in a quality set of screwdrivers, wrenches, and ratchet sets. And don’t forget about a good pair of gloves; they keep your hands clean and protected, especially if you’re dealing with sharp edges! Plus, a torque wrench might just be your best friend for those final adjustments to give that panel a snug fit.
Your installation area also matters, so make sure it’s organized and well-lit. A clean workspace can save you time and frustration when you can find everything in a snap. Perhaps a folding table would work wonders, along with a magnetic tray to hold your screws and small parts. Trust me, nothing’s worse than losing a tiny screw mid-project! Take a minute to lay everything out, and you’ll feel ready to tackle that installation like a true pro. Having the right setup is like finding the rhythm in a dance—it helps everything flow beautifully!

Getting Started: Preparing Your Vehicle for the Dorman Panel
Before diving headfirst into the installation of the Dorman panel, it’s crucial to prep your vehicle like you’re gearing up for a race. First off, gather all your tools—think of this step like assembling your favorite board game pieces before the fun begins. You’ll need some basic items such as screwdrivers, wrenches, and a socket set. And let’s not forget the all-important safety gloves to keep your hands protected while you work. Make sure your vehicle is parked on a flat surface and the ignition is off; we don’t want any accidental surprises while you’re in the middle of your DIY project!
Next, give your vehicle a little TLC by cleaning the area where the panel will go. Dust and debris can be a real bummer, creating a less than ideal surface for installation. It’s like trying to bake a cake in a dirty kitchen—messy and challenging! Use a soft cloth to wipe down the surrounding areas. Also, double-check if you have all the necessary parts that come with the Dorman 924-091 panel. If something’s missing, it’s better to know now than to be stuck without it halfway through. Here’s a quick checklist to help you out:
| Tool/Part | Status |
|---|---|
| Screwdrivers | ✔️ Available |
| Wrenches | ✔️ Available |
| Socket set | ✔️ Available |
| Safety gloves | ✔️ Available |
| Dorman 924-091 panel | ✔️ Ready |
Step-by-Step Guide: Installing Your Dorman 924-091 Panel with Confidence
Ready to tackle the installation of your Dorman 924-091 panel? Let’s get into it! First things first, gather your tools and materials. You’ll need a ratchet, socket set, and some basic hand tools. Also, don’t forget to have your new Dorman panel on hand along with any other necessary parts. Once you have everything, take a moment to review the installation area in your vehicle. Make sure the electrical connections and mounting points are clean, as a little prep can save a lot of headaches down the road.
Now, let’s dive into the actual installation. Start by disconnecting your battery; safety first, right? Carefully remove the old panel by unscrewing any fasteners and unplugging the electrical connections. Keep track of your screws, as you’ll need them later. Once that’s done, install your new Dorman panel by aligning it in place and securing it with the screws you just removed. Don’t tighten them too much at first—get everything aligned properly before fully securing it. reconnect the electrical connections and reconnect the battery. Give yourself a pat on the back; you’ve just handled an upgrade like a pro!

Finishing Touches: Tips for a Flawless Look and Long-Lasting Performance
As you wrap up your installation, don’t underestimate the power of those little details that can make a big difference. You want your new panel to shine, right? Start by giving everything a thorough clean. Use a gentle microfiber cloth to wipe down the area around the panel, ensuring no dust or debris is lurking around to ruin that fresh look. Once everything is spotless, consider adding a protective sealant to areas where the panel meets the surface. This will not only enhance the appearance but also work wonders in resisting wear and tear. A little preventive care goes a long way!
Now, let’s talk about making that new addition last. You’ll want to check the hardware you used during installation. Are those screws and bolts nicely tightened but not overdone? Making adjustments can lead to better durability. Additionally, don’t forget about the environment—depending on where you live, exposure to elements can be tough on your panel. It might be worth applying a UV spray, especially if it’s outside, to protect against fading. Trust me, spending a few extra minutes for these final touches can help you enjoy that flawless look for years to come!
Insights and Conclusions
And there you have it! Installing a Dorman 924-091 panel may seem like a daunting task at first, but with this step-by-step guide, you’re now equipped to tackle it like a pro. Just like putting together a puzzle, each piece has its place, and once you’ve got it down, the sense of accomplishment is simply unbeatable.
Remember, every project is a chance to learn something new, and this one is no different. So grab your tools, roll up your sleeves, and enjoy the satisfaction that comes with transforming your vehicle. If you hit a snag or have any questions down the road, don’t hesitate to reach out or dive back into our articles for more tips. Keep that DIY spirit alive, and happy wrenching! You’ve got this!